 Before 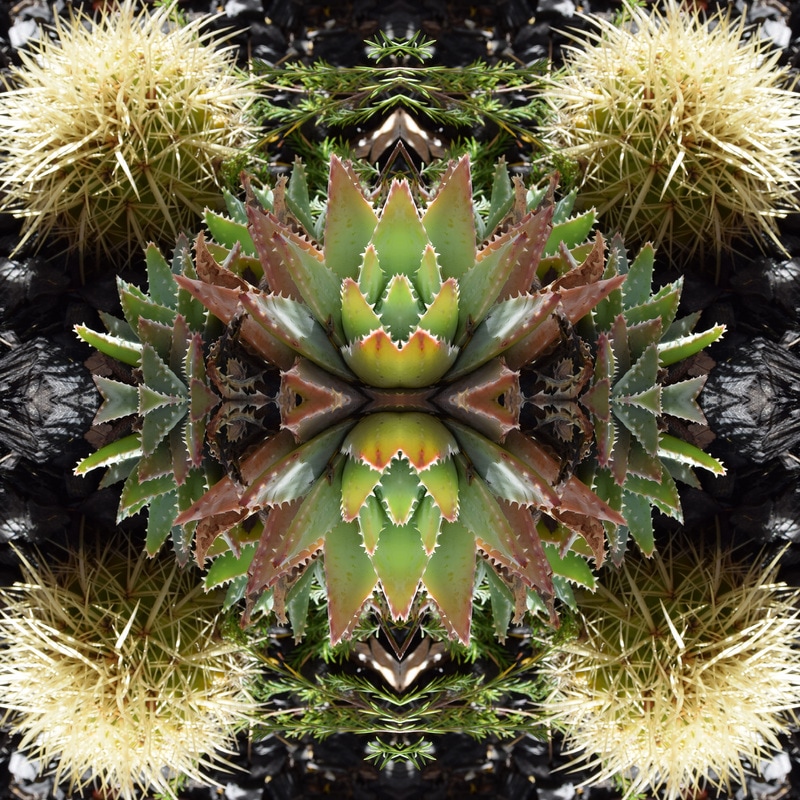 After 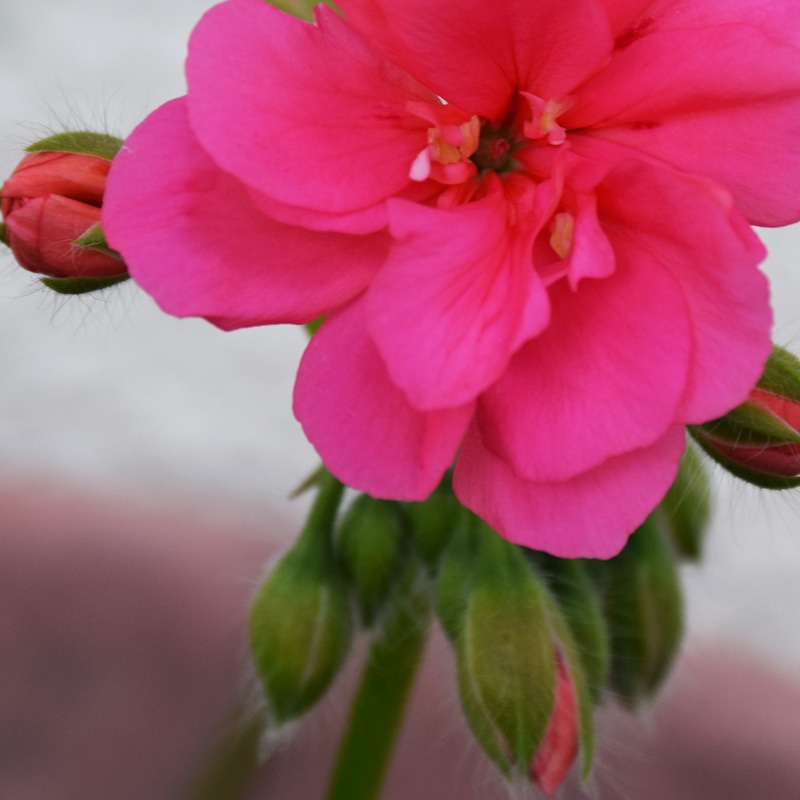 Before 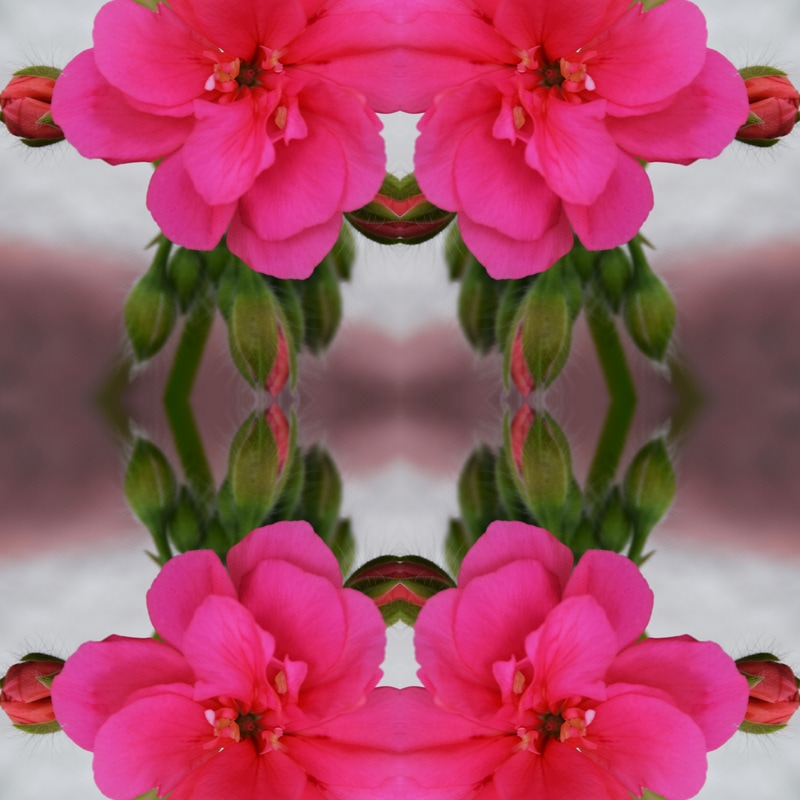 After 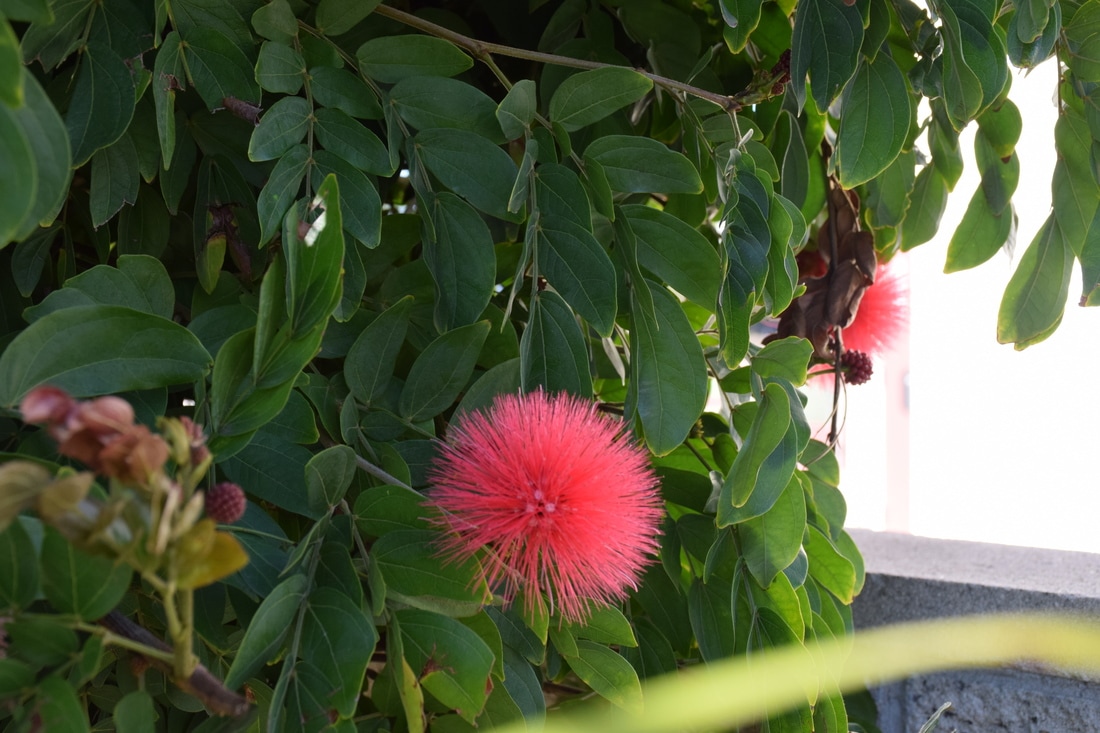 Before 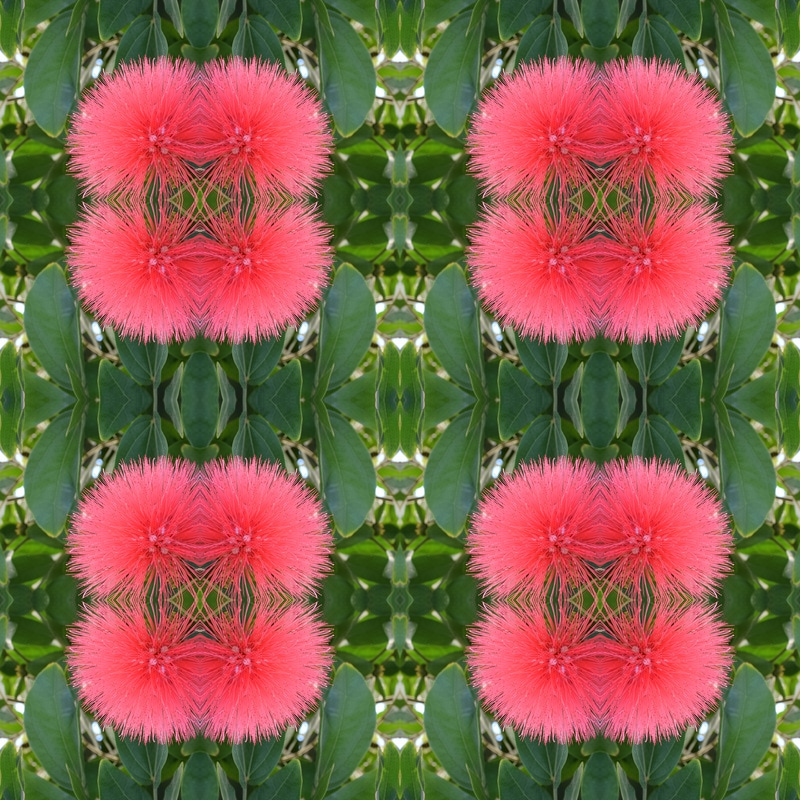 After 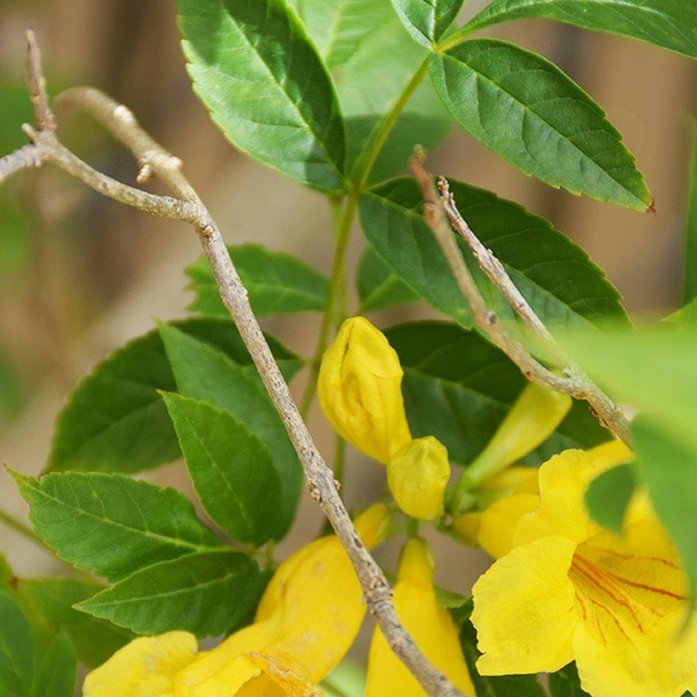 Before 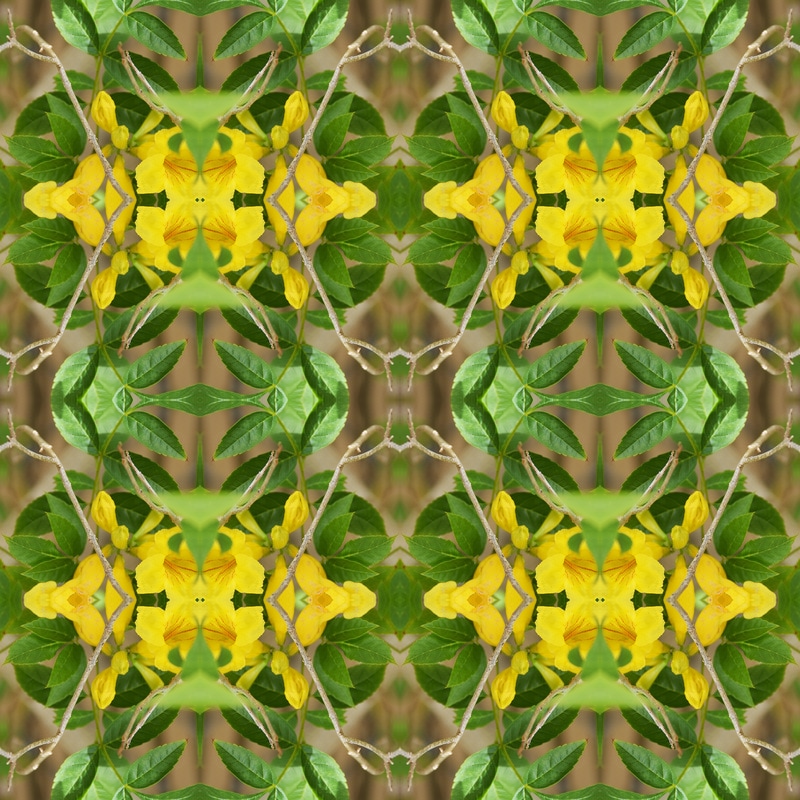 After 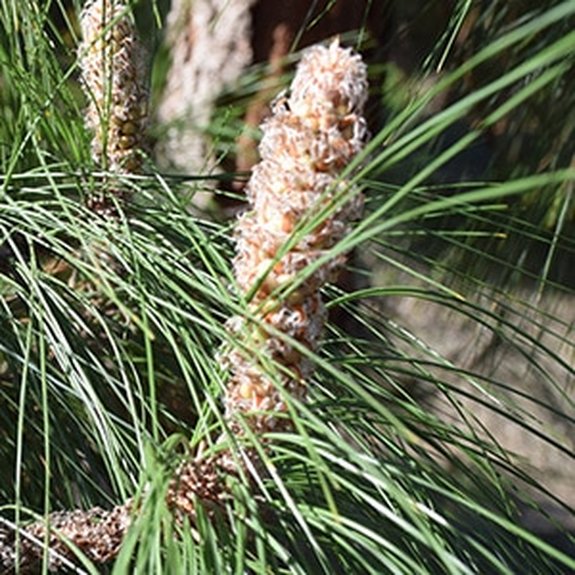 Before 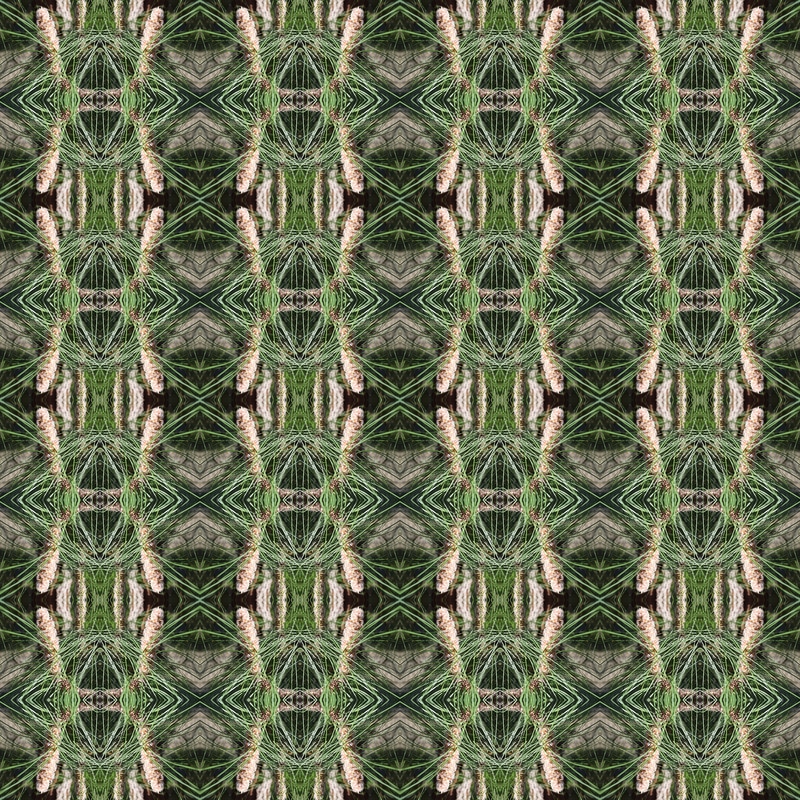 After 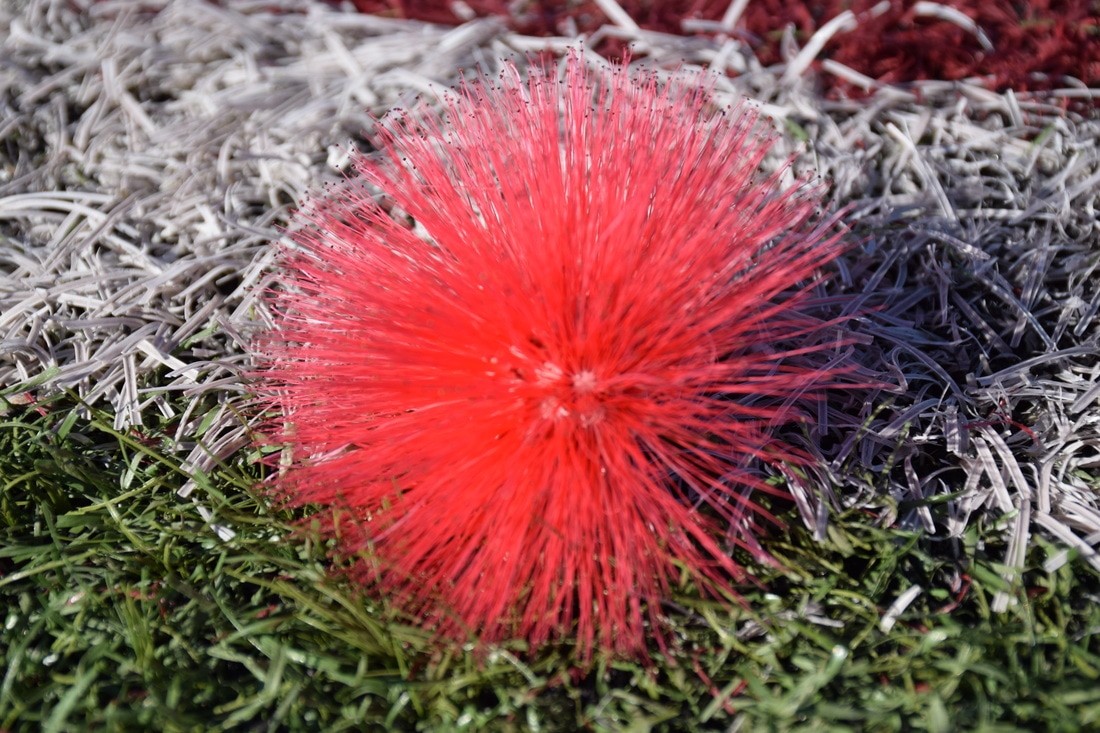 Before  After What tessellation means to me is like putting your photo in a kaleidoscope and creating all these cool looking shapes and possibly faces. How I created the tessellations was I opened up the template first: 4", 2" 1". Then I went to the photo I chose and cropped out a specific area, then I went to make sure that the cropped photo was exactly 1" by 1". After that, I took that cropped area from the photo and moved it to the template. Once it was placed and made sure it was aligned with the guide lines, I duplicated that layer and flipped it/ rotated it etc. and duplicate. I repeated that for the rest of the tessellation and same with the other two: 2", and 1". What I liked about this was making the tessellations and seeing what it looked like or created with the area I chose from the original photo. My favorite tessellation is probably the first one I made with a part of the cactus plant. What I struggled with was making the 1" by 1" tessellations, I kept messing up the way I'd rotate or flip the duplicated layer. Also there were so many layers to work with, I did get a headache at the end because the tessellations got really trippy looking while in the process. If I had to do it over again, I would find a more interesting/ weird looking thing to take a picture of.
0 Comments
Leave a Reply. |
AuthorPhotography is a hobby I like to do, its fun, exciting and sometimes you got to go the extra mile to get that perfect picture. Archives
May 2017
Categories |
 RSS Feed
